Make you own… Fruit on the bottom yogurt (dairy free!)
This is one of the easiest “make your own” and one that will save you a TON of cha-ching. Y’all know how much dairy free yogurt costs, right? Forget about it! Make you own (handy tutorial here for making coconut yogurt without a yogurt maker) and make some yummy yogurt for home and to go.
I make all of my yogurt plain (well, sometimes I make it unsweetened with some vanilla in it). Plain sets better and doesn’t mess with the culture, especially for non-dairy when it is already sometimes a bit delicate. Plus with plain yogurt, I can use it in so many more things. I love it, BUT somehow 8-year-olds aren’t always hip to the plain yogurt. That is where the fruit on the bottom comes in.
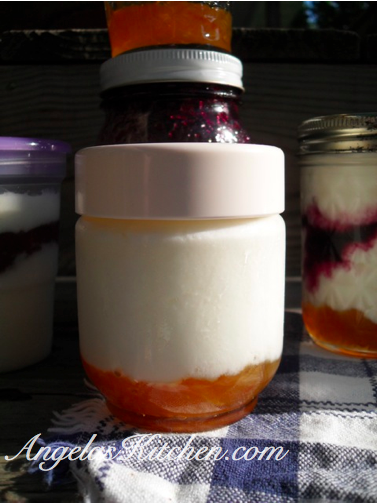
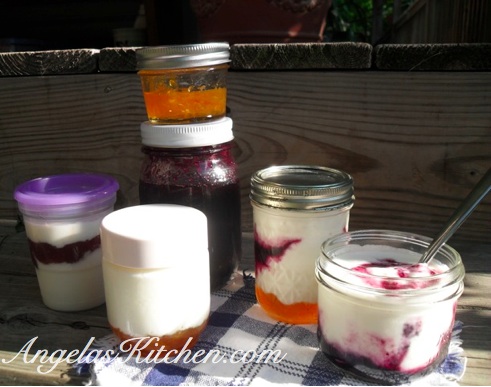
To make my own fruit-on-the-bottom yogurt, I drizzle a bit of my homemade fruit syrups or preserves into the bottom of a jar (1 to 2 Tablespoons, depending on the size of the serving and the type of preserve), add some berries or diced fruit, then scoop some yogurt on top. Sometimes we use more than one type of preserve and make stripes (strawberry preserves and fresh blueberries are amazing for the Forth of July layered with coconut yogurt), sometimes just one kind. It all depends on our mood and what is in season. Apricot preserves and diced fresh mango in the house? Layer it up! I have to say that layers of lemon curd and coconut yogurt are amazing (but don’t tell my kids… I may have hoarded that one all to myself).
If you make your own preserves, you’ll know exactly what is in your creation (and you can make your preserves all fruit juice sweetened – Bonus!). But you don’t have to make your own preserves; pick up something delicious from the farmer’s market or grocery, or just crush some sweet, ripe fruit and add it in. Also, depending on the size servings needed (a toddler needs a much smaller serving than a big teen), you can layer in different sized jars. They come as small as 4 ounces. Experiment and have fun!

Mmm... Summer Squash Preserve Coconut Yogurt. Don't think you'll find that flavor in the store, but it's delicious!
So, you do have one of those handy yogurt makers? You can also try putting a bit of preserves on the bottom of the yogurt jars before adding the warmed yogurt mix before culturing (but not fruit syrups. They are too liquid and do not work).
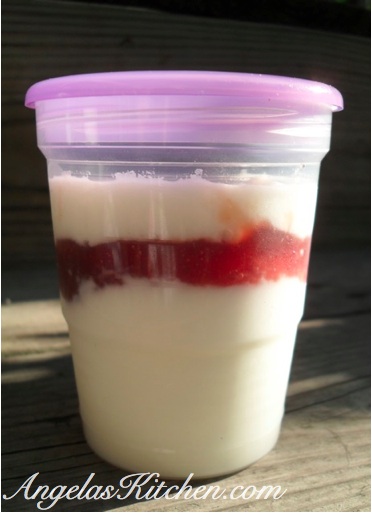
Great back-to-school tip: Don’t want to use canning jars? Yep, those wouldn’t travel in my kid’s lunch box too well. There is a solution for that, too! Try the 8 oz. plastic freezer canning jars or other small twist close plastic containers. I usually layer about 4 to 6 oz. of yogurt in those for the kiddos, filling the rest with chopped fruit and preserves. It is a fun and filling treat to find in your lunch box. You can make enough on a Sunday evening for a couple of days worth. Fruit cups with chopped fruit will only last a couple of days in the fridge before the fruit gets mushy, but we have found yogurt cups layered with preserves can last all week in the fridge when made ahead of time. This is a really fun project to do with your kids where they can get messy and have fun making something delicious.
Edit 8-16-11: I am linking this post to Slightly Indulgent Tuesdays at Simply Sugar and Gluten Free. Go visit Amy. She has an AWESOME site!


Pingback: Menu Plan Monday – August 8, 2011 | Angela's Kitchen
Pingback: Menu Plan Monday - Gluten Free Dairy Free Edition | OAMC from Once A Month Mom
I love to make yogurt, too. It’s so fresh and creamy – nothing like what you get at the store. Thanks for linking up to Slightly Indulgent Tuesday!
Hugs,
Amy
This is fantastic! I didn’t know homemade dairy-free yogurt was even possible…much less with a tasty treat at the bottom. Yum! Thanks!
P.s. The squash coconut idea sounds delicious to me…especially since coconuts grow in my backyard! Great idea!
You have coconuts in your yard? I am so jealous! That wouldn’t work for me in Minnesota, but I can dream!
Pingback: Back-to-School Breakfast Round Up! | Angela's Kitchen
Pingback: Menu Plan Monday – August 15, 2011
Pingback: Menu Plan Monday – January 28, 2013 | Start Gluten Free
Pingback: Menu Plan Monday – January 28, 2013