Skip to Main Content
Mobile Menu Trigger
Submit
Mobile Search Trigger
Home
Browse Recipes
All Recipes
Recipe Index
Beverages
Breads
Breakfast
Desserts & Treats
Main Dishes
Sides & Salads
Slow Cooker
Special Diets & Allergens
Dairy Free
Gluten Free
Corn Free
Egg Free
Fish Free
Peanut Free
Pork Free
Shellfish Free
Soy Free
Tree Nut Free
Vegetarian & Vegan
For the Freezer
Slow Cooker
Menu Plans
Cookbooks
About
Submit
Don’t Miss a Recipe!
subscribe via email:
Home
»
Crafts
Crafts
Submit
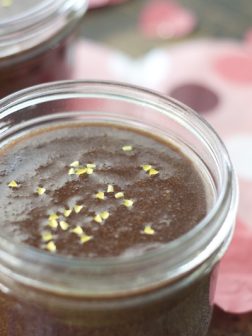
Secret Recipe Club – Chocolate Coconut Sugar Scrub
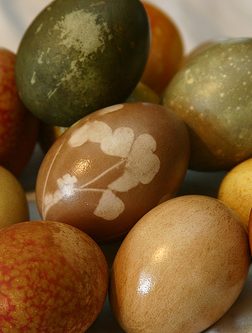
Natural Easter Egg Dyes
Easter Story Cookies
Playdoh, play clay, and paper mache….